How to Make an Easy Polka Dot Cake with Balloon
Need an easy cake for a birthday? Why not try a polka dot cake design. Polka dot is a fun and cute cake design that anyone can achieve. The problem with adding polka dot design is sometimes you have to measure distance to make sure they are lined up. I know, not as easy as it looks, especially if you have to add thousands of tiny polka dots to a cake. In this tutorial, I am going to show you how to make an easy polka dot cake using wax paper transfer and a piping tip. Wax paper transfers are a cake decorators secret weapon and the best part, it is something we all have at home. This method is so versatile, it can be used to add any design to a cake, not just polka dots.
Even though I have tons of molds and cutters, I love decorating cakes that use simple household items. This colorful cake is no different, It does however, take me a little out of comfort zone with my color choices. I even hesitated about putting this on the blog because I felt it was way too bright for me, but it grew on me. If you love color then this is for you.

This page may contain affiliate links which mean that if you make a purchase from any links directed from this website I may earn a small commission. I only recommend things that I use and love and classes I have taken. Thank you very much for your ongoing support.
How to make an Easy Polka Dot Cake
To make the polka dot cake you only need wax paper, shortening, polka dot template and tip 1A. I love using this tip because you can achieve two different sizes of circles. For the polka dot template see my free resource library. It is loaded with great information and templates.
Materials:
- Cake covered in fondant or buttercream
- Wax paper
- Tip 1A
- Fondant (as pictured teal fondant, pink fondant, and yellow fondant)
- Tylose powder
- Shortening
- Small rolling pin
- Three (3) 1.5-inch styrofoam ball
- Floral wires
- Bubble tea straw
- Candy melt
- Measuring tape

To make this polka dot cake you need to measure the height of your cake and around the cake. Then, cut the wax paper to the length and height of your cake. Add shortening to the wax paper. Then place the template under the wax paper. Use 4 pins to keep the wax paper in place. If this is too much at once, add the polka dots to the front of the cake, then the back or get some extra hands to help.

Add tylose powder to the pieces of fondant, then cover with plastic and let them sit. Roll out the yellow fondant to 1/16th inch.

Use the large section of tip 1A and cut out as many circles as you can.

Add to the template using whatever pattern you desire.

Then roll out the pink fondant. Cut out circles using tip 1A. I used the larger side.

Add the pink fondant to the template. Follow the same step for the teal fondant. Organize the colors however you like. You can also mix the large polka dots with small polka dots. I went the easy route with larger dots.

Add some shortening to the top of the polka dots. Make sure the polka dots are in place then lift the wax paper and place on the cake. Make sure the wax paper lines up with the bottom of the cake. Once it is lined up, use a fondant smoother or your hands to apply the polka dots to the cake.

Slowly remove the wax paper.

Then place the cake to the side and begin decorating the balloons.
Roll out fondant using the colors from the polka dots.
Take three styrofoam balls and insert the floral wire in the center of the ball. Make sure it is secure, then add shortening to the balls. Place the ball on the fondant and begin wrapping the fondant all around.
Trim the excess fondant and continue to smooth the fondant around the ball. Make sure there is no space underneath.
Repeat the same steps for the other two styrofoam balls. To add to the cake, organize the balloons by placing one on top and the others down to look like actual balloons. Keep them the balloons together by adding tape but try not to make it bulky you need it to fit in the bubble tea straws. In the meantime melt some candy melts. Add a bubble tea straw to the cake in the area you want the balloons. Then pour the candy melt 3/4 of the way. Add the balloons to the bubble tea straw to secure them. This should dry quickly, do not move the cake until then.
Finally, paint the wires white using edible paint.![]()
That’s it, easy peasy right?

Related Posts
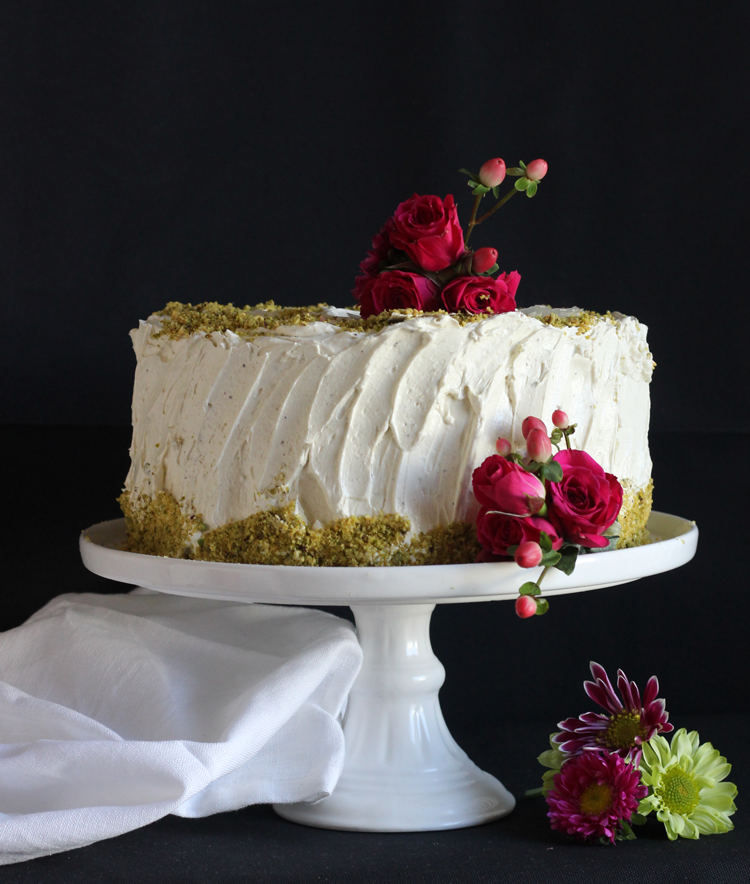
The Best Pistachio Cake from Scratch with Pistachio Buttercream
Do you like pistachio ice cream? I do, it’s one of my favorite flavors. That’s
April 2, 2021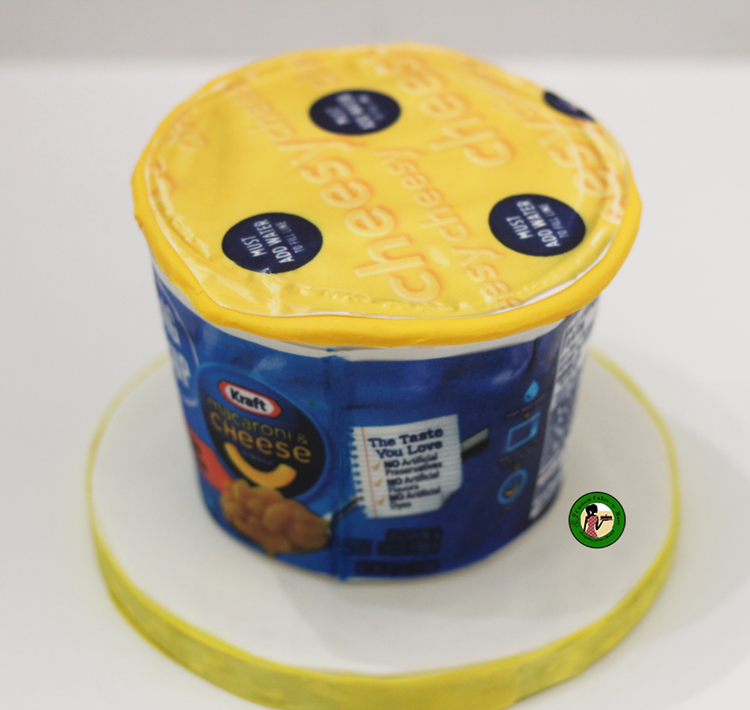
How to Make a Macaroni and Cheese Cake
This week I am switching things up a bit. Today I have a tutorial on
January 24, 2020